If you’ve spent any time exploring Home Assistant, you’ve probably come across people talking about HACS. At first glance it might sound like just another acronym in the sea of smart home jargon—but HACS is a necessary resource in Home Assistant that you will very likely need at some point.
In this post, I’ll explain what HACS is, why you might want it, and how to get it installed.
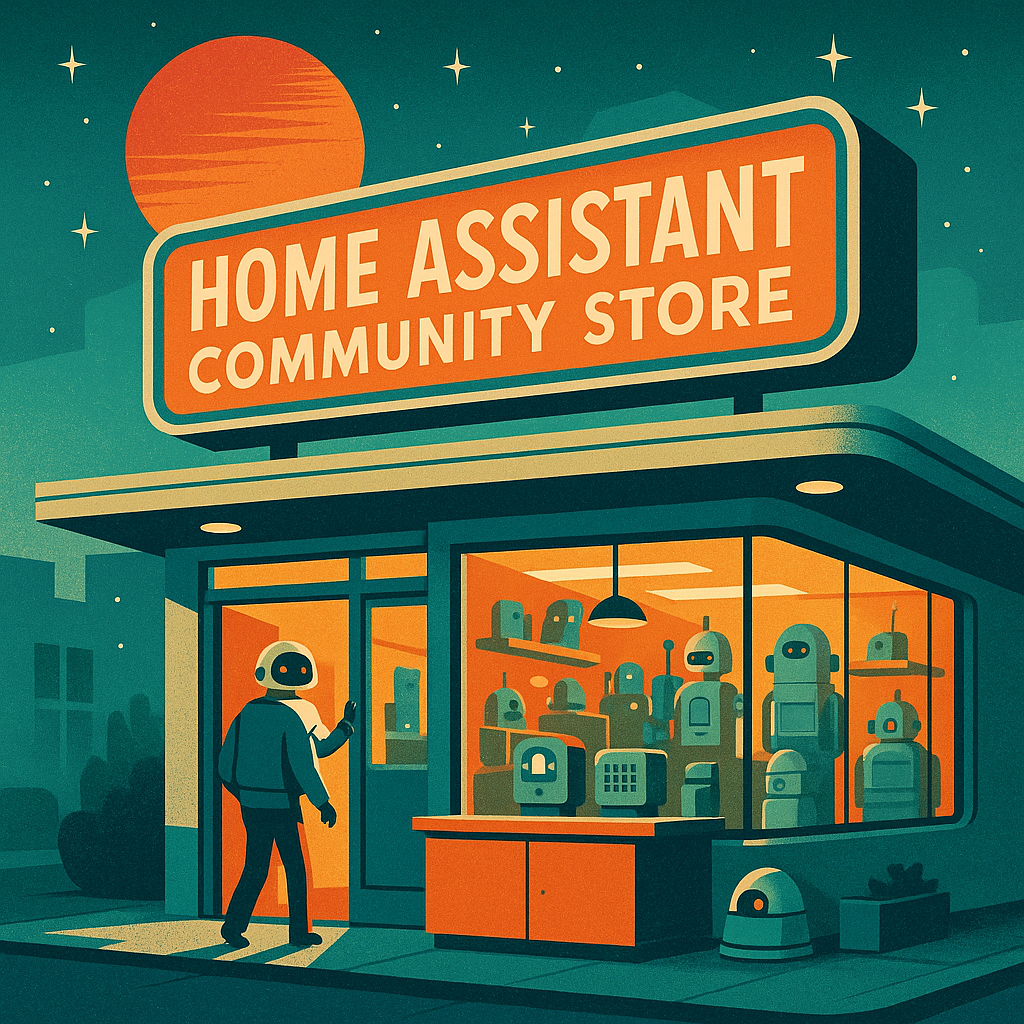
What Is HACS?
HACS stands for Home Assistant Community Store. Think of it as an “app store” for Home Assistant, built and maintained by the community. Out of the box, Home Assistant gives you a huge number of integrations, but HACS unlocks even more:
Custom integrations: Access third-party devices, APIs, or advanced features that aren’t part of the official release. Frontend plugins: Add new cards, themes, and dashboards to customize the look and feel of your Home Assistant UI. Automation blueprints: Find prebuilt automations you can drop into your system and tweak.
The best part? HACS manages installation and updates for you, so keeping community add-ons current is just a couple of clicks.
Why Use HACS?
Expand your ecosystem: Many device makers or hobbyist developers publish their work via HACS first, long before it ever becomes “official.” Customization: If you like your dashboards to look polished and personal, HACS gives you themes, cards, and UI tweaks you won’t find elsewhere. Convenience: Instead of manually downloading and copying files into configuration folders, HACS handles installation and updates inside Home Assistant.
How to Install HACS
Installing HACS takes a few steps, but once it’s set up you rarely need to touch it again. Here’s the process:
1. Prepare Your System
- Make sure you’re running Home Assistant 2023.7 or newer.
- Enable Advanced Mode in your user profile (click your name in the bottom left of HA → toggle Advanced Mode on).
2. Get the HACS Files
- Go to the HACS GitHub page and download the latest release.
- Extract it, and copy the hacs folder into your Home Assistant custom_components directory.
- If you don’t already have a custom_components folder, create one inside your Home Assistant config directory.
3. Restart Home Assistant
- Once the files are in place, restart Home Assistant.
- After reboot, go to Settings → Devices & Services → Add Integration, search for HACS, and install it.
4. Authorize HACS
- The first time you open HACS, it will ask you to log in with GitHub.
- This is so it can fetch community repositories and track updates.
- Once authorized, you’ll see HACS appear in your sidebar.
5. Start Exploring
- Open HACS from the sidebar. You’ll see tabs for Integrations, Frontend, Automations, and more.
- Browse, install, and enjoy — your Home Assistant is now super-powered.
HACS is one of those add-ons that feels almost essential once you’ve used it. It turns Home Assistant from a great automation platform into an endlessly customizable playground. With just a few minutes of setup, you unlock access to hundreds of community-driven integrations, themes, and automations that can make your smart home both more powerful and more personal.